How to manage header section in Setto Pro?
1. How to change the Site logo?
From your dashboard, go to the Appearance > Customize > Header > Site Identity Section
Now Click on the select logo and choose a logo for your site.
If you change & remove the logo then you can use the buttons below it.
Click on Publish.

2. How to customize the width of the Site logo
From your dashboard, go to the Appearance > Customize > Header > Site Identity Section
Now Scroll bar is used for logo width Customize.
Click on Publish.

3. How to manage site title & tagline?
From your dashboard, go to the Appearance > Customize > Header > Site Identity Section
Now manage site title & tagline as per your choice.
Click on Publish.

4. How to change the site icon?
From your dashboard, go to the Appearance > Customize > Header > Site Identity Section
Now Click on button & select Site icon . ;
You can use site icon size maximum 512 x 512px.
Click on Publish.

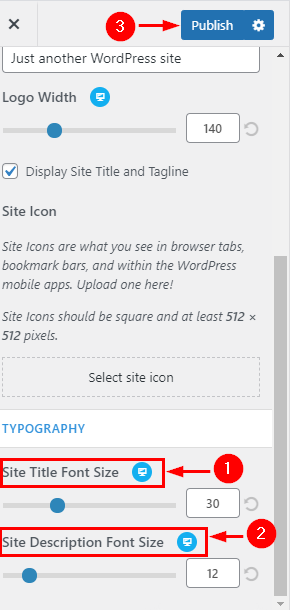
5.How to Customize Site title & description font size?
From your dashboard, go to the Appearance > Customize > Header > Site Identity Section
Here you can customize the Site title & description.
Click on Publish.
6.How to select Header type ?
From your dashboard, go to the Appearance > Customize > Header > Header Type Section
Here you can select Header type
Click on Publish.

7. How to manage info 1 in the above header
From your dashboard, go to the Appearance > Customize > Header > Above header Section
Here you can manage left content.
Click on Publish.

8. How to manage info 2 & info 3 in the above header
From your dashboard, go to the Appearance > Customize > Header > Above header Section
Here you can manage social icons as per your choice.
Click on Publish.

9. Hide/Show Search, My Account, Wishlist & Cart icon in Header Navigation
From your dashboard, go to the Appearance > Customize > Header > Header Navigation Section
Now Click on the check box for Hide/Show icon.
Click on Publish.

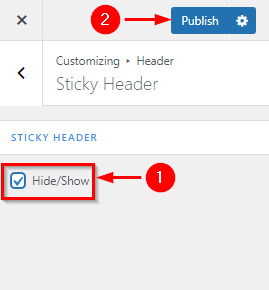
10. Hide/Show Sticky Header
From your dashboard, go to the Appearance > Customize > Header > Sticky Header Section
Now Click on the check box for Hide/Show Sticky header
Click on Publish.